AI-Generated Article
This content has been automatically generated using artificial intelligence technology. While we strive for accuracy, please verify important information independently.
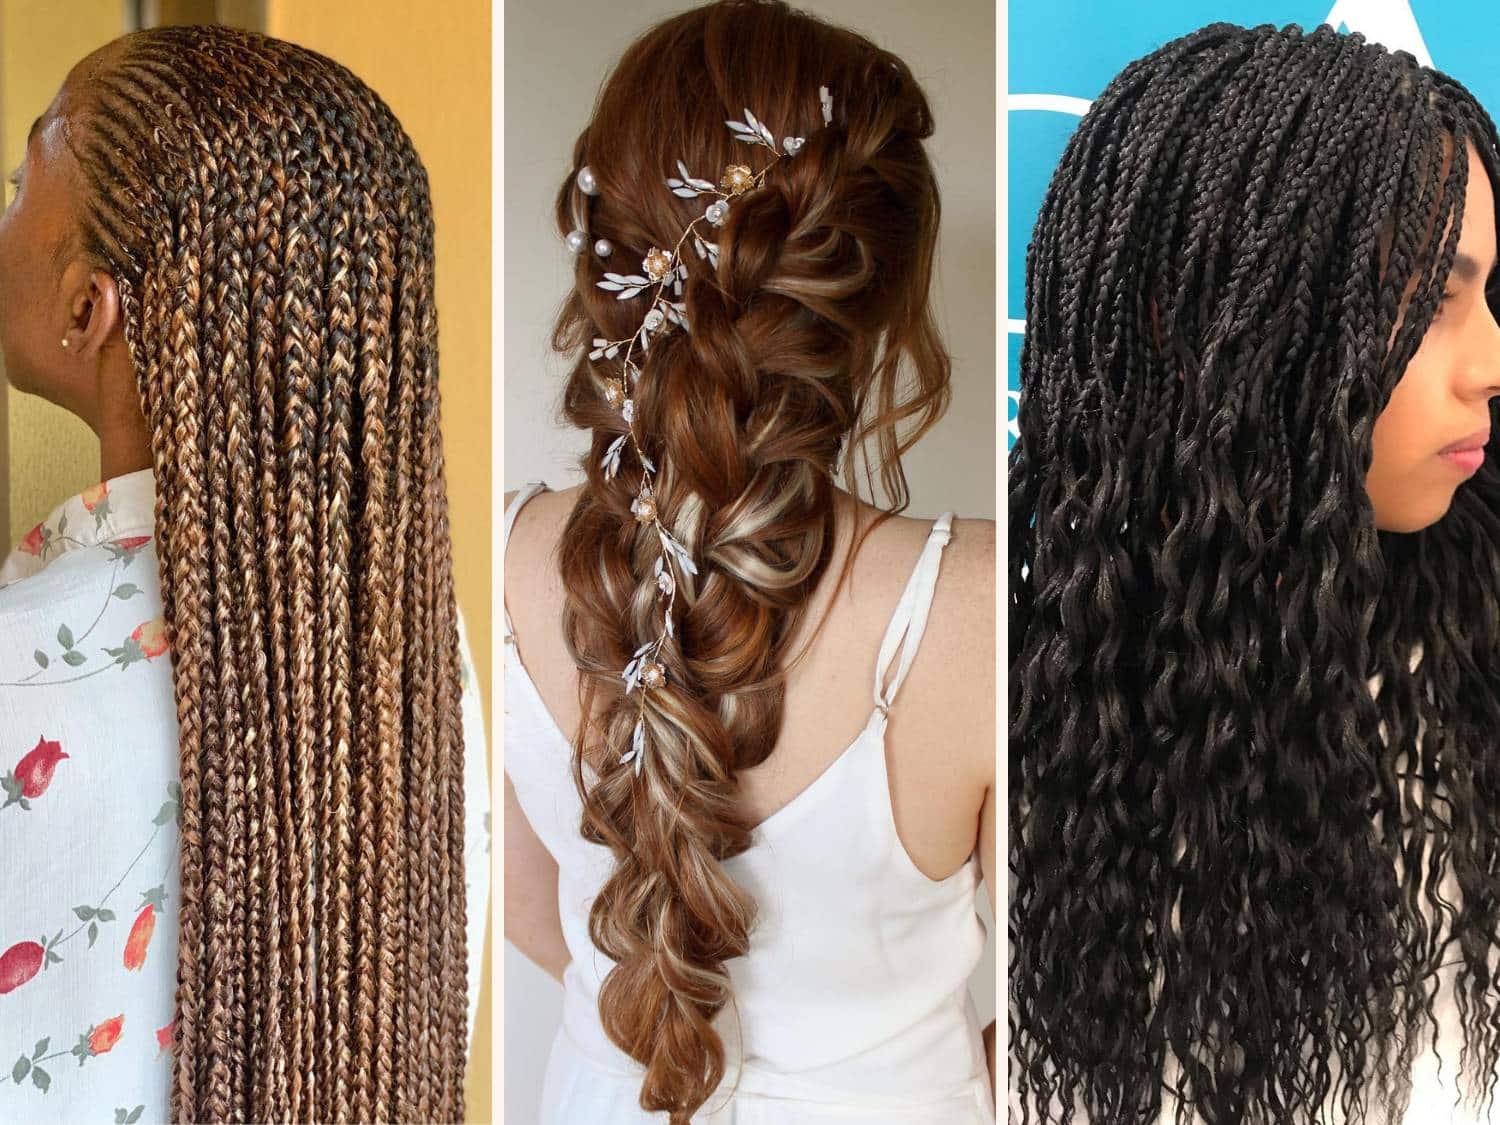
Learning to create a braid for your hair can feel like a neat trick, a skill that lets you style your hair in a lovely way. It is a classic look, something people have done for a very long time. Lots of folks find a simple braid useful for keeping hair out of the way or just making it look put together. This guide is here to help you get started, making it easier to try it yourself, so.
Perhaps you have been wanting to try a new hairstyle, or maybe you just need a way to keep your hair neat for everyday things. Knowing how to put a braid together can be a really helpful thing to know. It does not matter if your hair is long or just a little bit past your shoulders, there is a braid style that could work for you, you know.
This information will walk you through the basic steps for a few popular braid styles. We will talk about what you might need and how to hold your hair just right. It is a quick sort of lesson on how to get your hair to do what you want, helping you turn an idea into a neat hairstyle, pretty much.
- African American Art And Culture Complex
- Anastasia Pagonis Erome
- Privy Privy
- Karen Katc Onlyfans
- Plus Size Influencer
Table of Contents
- Getting Ready to How to Braid
- What Tools Do You Need for How to Braid?
- The Basic How to Braid
- How Do You Hold the Hair for How to Braid?
- Trying a French How to Braid
- Is French How to Braid Hard to Do?
- Exploring the Dutch How to Braid
- Can Anyone Learn Dutch How to Braid?
Getting Ready to How to Braid
Before you even think about putting your fingers to hair, it helps a lot to get everything ready. Think of it like getting your ingredients out before you start to cook. Having your hair ready means less fuss later on, which is good, you know. A little bit of planning goes a long way here, basically.
First, make sure your hair is free of any tangles. Running a brush or a wide-tooth comb through it is a good idea. If your hair is very dry, a tiny bit of water or a light styling cream can help make it easier to work with. This can make the strands stick together a little better, which is useful, really.
Some people find it easier to braid hair that is a day old, meaning it is not freshly washed and super slippery. If your hair is very clean, it might be a bit too soft to hold a braid well. A little texture can make a big difference, honestly. You want the hair to have some grip, sort of.
What Tools Do You Need for How to Braid?
You do not need a whole lot of fancy stuff to get started with how to braid. Most of what you need you probably already have around the house. It is more about how you use what you have, rather. A few simple items can make the whole thing much smoother, helping you get a neat result.
A good brush or comb is a must. You will use this to get rid of knots and to separate sections of hair. Some people like a rat-tail comb for making very neat parts, but any comb will do to start. It just needs to be able to go through your hair without pulling, you know.
Hair ties or elastic bands are also very helpful. You will need these to hold your braid in place once you are done. Small, clear elastic bands are often good for the ends of braids, as they do not stand out too much. You want something that will hold tight, basically.
Sometimes, a mirror can be a big help, especially when you are just starting out. Being able to see what you are doing from different angles can make a real difference. It helps you keep track of your sections and how you are crossing the hair, as a matter of fact.
The Basic How to Braid
The standard braid, sometimes called a three-strand braid, is the building block for nearly all other braid styles. If you can do this one, you are well on your way to trying more complex looks. It is pretty simple once you get the hang of it, so. This is where most people start their braiding journey.
To begin, gather the hair you want to braid into one section. This could be all of your hair if you are making a single braid down your back, or a smaller section if you are doing a side braid. Make sure this section is smooth and free of tangles, too it's almost.
Now, divide that section of hair into three equal parts. You want these parts to be as close to the same size as possible. This helps your braid look even and neat. Hold these three parts in one hand, keeping them separate, like your fingers are holding three different ropes, in a way.
How Do You Hold the Hair for How to Braid?
Holding the hair correctly is a big part of how to braid well. It might feel a little awkward at first, but with a bit of practice, it becomes second nature. Your fingers become like little helpers, keeping everything in its place, honestly.
Imagine you have three strands: one on the left, one in the middle, and one on the right. You will start by taking the strand on the right side. Cross this right strand over the middle strand. The old middle strand now becomes the new right strand, and the old right strand is now in the middle, naturally.
Next, you will take the strand that is now on the left side. Cross this left strand over the new middle strand. The old middle strand becomes the new left strand, and the old left strand moves to the middle position. You keep doing this, alternating sides, you know.
The key is to keep a steady, gentle pull on each strand as you cross it over. This helps the braid stay tight and even. If you let go too much, the braid might become loose and messy. It is a bit like keeping a good rhythm, basically.
Continue this pattern: right over middle, then left over middle, all the way down the length of the hair. When you get to the end, secure the braid with a hair tie. You can leave a little bit of hair unbraided at the very end, or braid it all the way down, just a little.
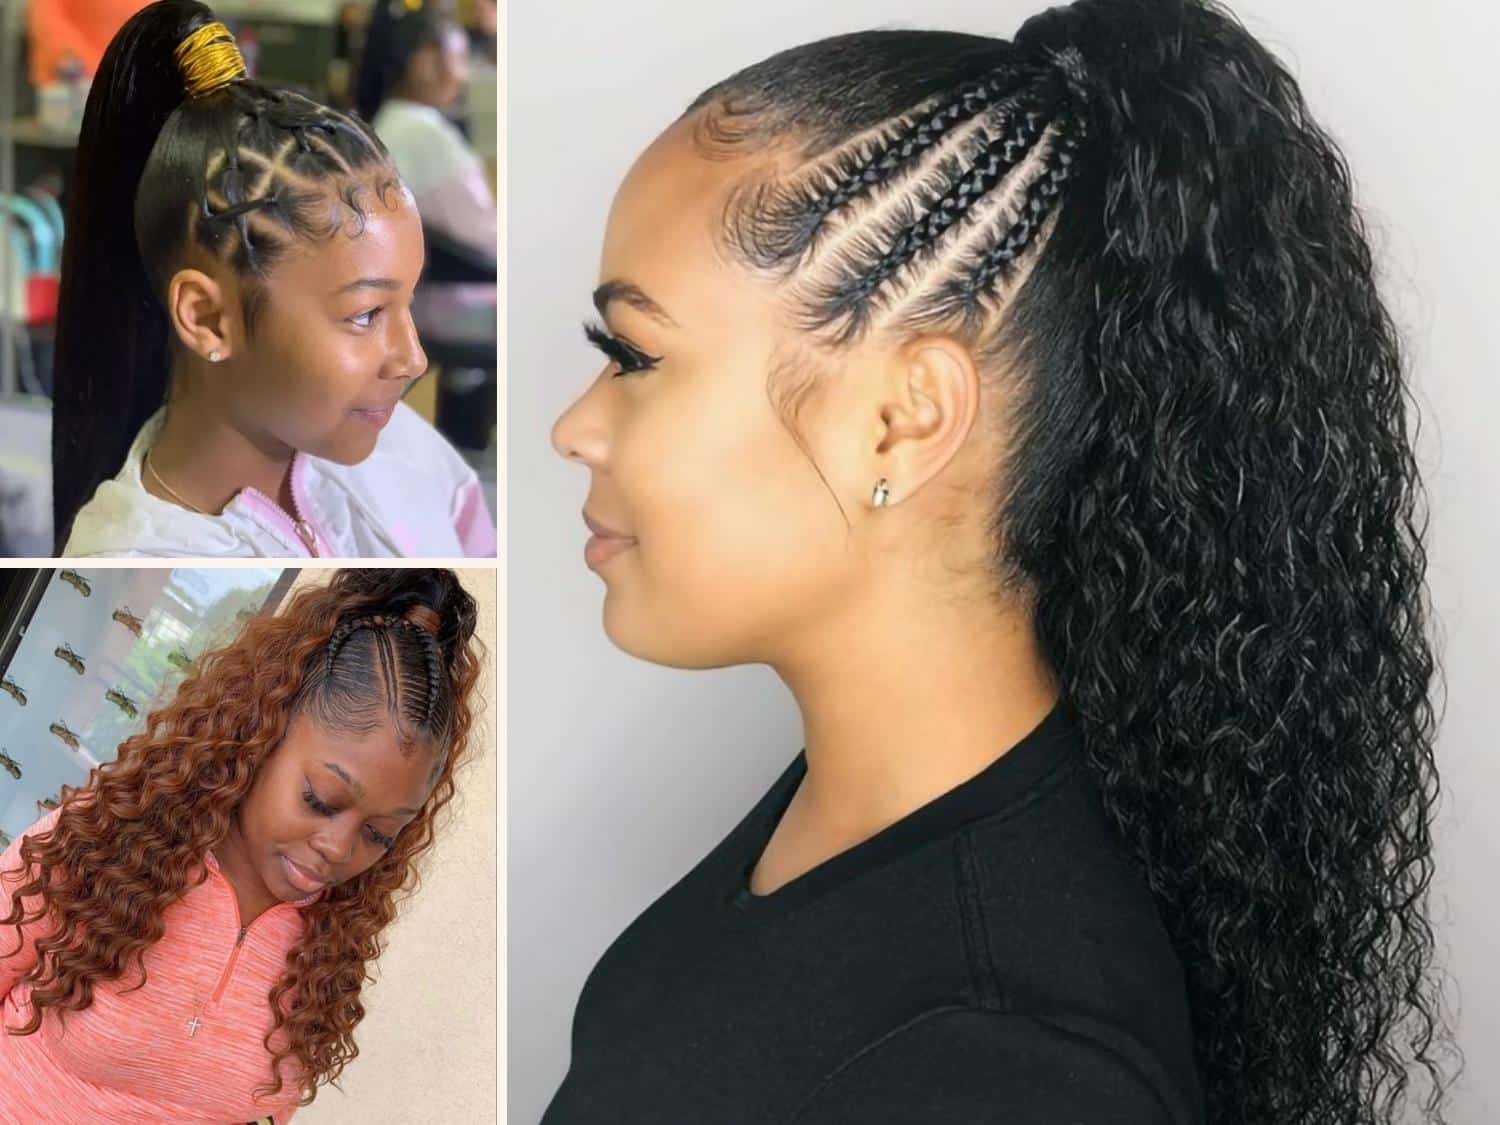
Trying a French How to Braid
The French braid looks a bit more fancy than the basic braid, but it uses the same core idea. The main difference is that you add more hair as you go along, making it sit close to your head. It is a really popular style for a lot of people, so.
Start by taking a section of hair from the top of your head, near your forehead. This section should be about two or three inches wide. Divide this section into three equal strands, just like you would for a basic braid, you know.
Do one or two crosses of a basic braid with these three strands. So, right over middle, then left over middle. This gets your braid started and gives you a good base to work from. It is a way to get your fingers used to the movement, really.
Now, before you make your next cross, pick up a small, new section of hair from the side of your head, near the strand you are about to cross. If you are crossing the right strand over, pick up a piece of hair from the right side of your head. Add this new hair to the right strand, making it thicker, as a matter of fact.
Then, cross this now-thicker right strand over the middle strand. Do the same thing on the left side: pick up a small, new section of hair from the left side of your head. Add it to the left strand, and then cross this thicker left strand over the new middle strand. You keep doing this, adding hair from both sides, you see.
Keep your sections of added hair fairly small and even. This helps the braid look smooth and neat. Try to keep the tension even as you go, so the braid does not get too tight in one spot and loose in another. It is a bit of a balancing act, basically.
Continue adding hair from the sides as you braid down your head. Once you run out of hair to add, just finish the rest of the length with a regular three-strand braid. Secure the end with a hair tie. It might take a few tries to get it just right, too it's almost.
Is French How to Braid Hard to Do?
Many people wonder if a French how to braid is hard to do. The truth is, it can feel a little tricky at first, especially when you are trying to add hair and keep track of your strands all at once. It is not something most people get perfectly on their very first try, naturally.
The biggest challenge for many is coordinating their hands and keeping the sections separate while adding new hair. It requires a bit of finger memory, sort of. Your hands learn the movements after doing them a few times, so.
Patience is really your best friend when learning this style. Do not get discouraged if it does not look perfect right away. Practice makes a big difference. Maybe try it on a friend or a doll first, if you can, just a little. This helps you see what you are doing more clearly.
Starting with smaller sections of hair at the top can make it easier to manage. Also, making sure your hair is brushed smooth beforehand helps a lot. If you have a lot of layers, some pieces might try to escape, but you can use a little hairspray to help them stay put, you know.
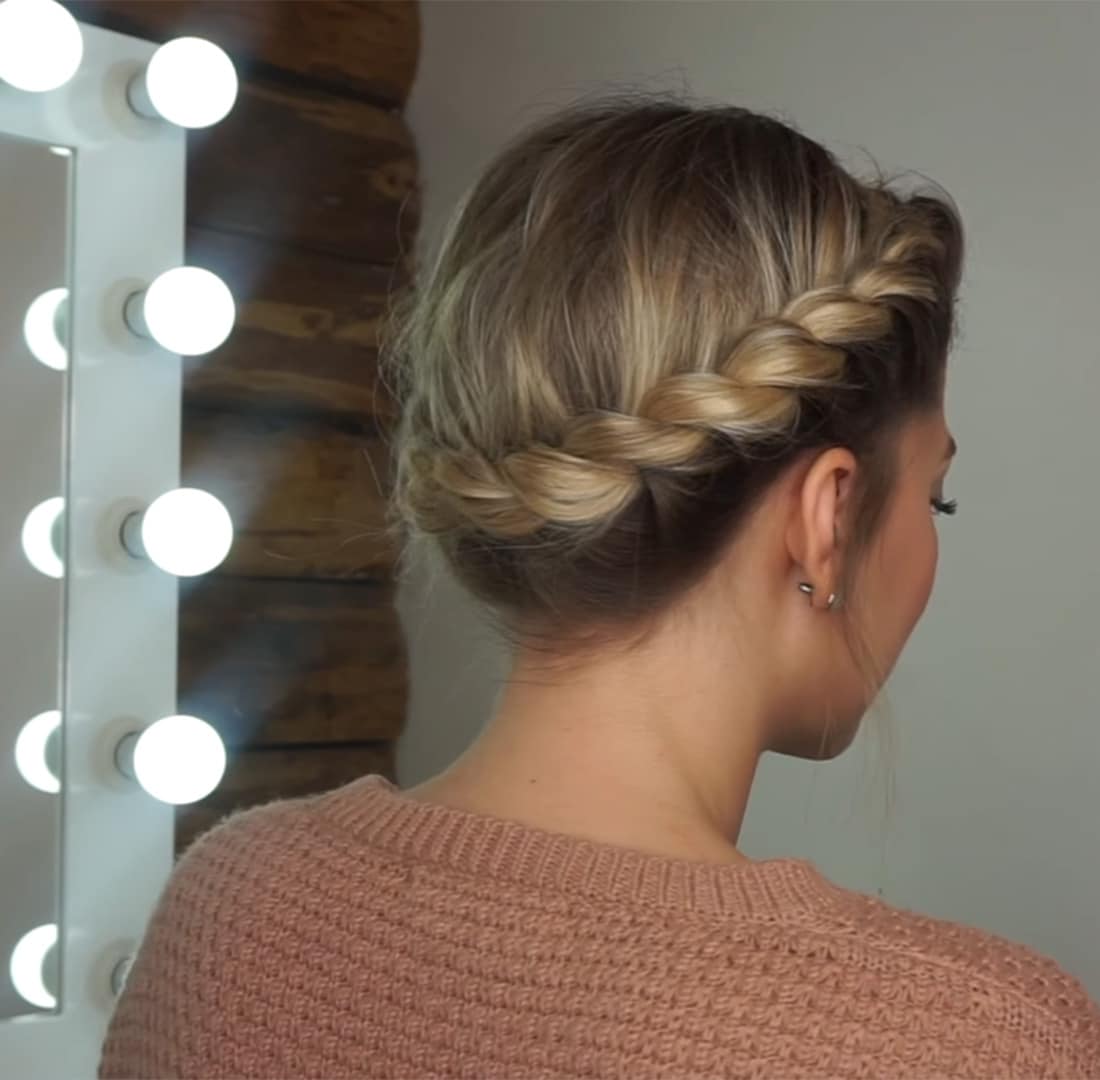
Exploring the Dutch How to Braid
The Dutch braid, sometimes called an "inside-out" braid, looks a lot like a French braid but with a cool twist. Instead of the braid sitting flat against your head, it stands out, giving it a raised, almost rope-like look. It is a very striking style, really.
The starting steps are very similar to the French braid. You will take a section of hair from the top of your head and divide it into three equal strands. This is your starting point, just like before, so.
Here is the big difference: instead of crossing the strands *over* the middle, you cross them *under* the middle. So, take the right strand and cross it *under* the middle strand. The old middle strand becomes the new right, and the old right strand is now in the middle, but underneath, you see.
Then, take the left strand and cross it *under* the new middle strand. Again, the old middle becomes the new left, and the old left strand moves to the middle, underneath. This simple change makes the braid pop out from your head, which is pretty neat, honestly.
Just like with the French braid, you will add new sections of hair as you go. Before each under-cross, pick up a small, new section of hair from the side and add it to the strand you are about to cross. Add hair to the right strand before crossing it under, and add hair to the left strand before crossing it under, basically.
Continue this pattern of adding hair and crossing under, working your way down your head. Keep your sections even and maintain a steady tension for a neat look. When you run out of hair to add, finish the rest of the length with a regular three-strand braid, crossing under each time. Secure the end with a hair tie, you know.
Can Anyone Learn Dutch How to Braid?
Yes, absolutely, anyone can learn how to braid a Dutch style! It might seem a bit more involved than a regular braid because of the "under" motion, but it is just a small adjustment to the basic French braid method. If you can do a French braid, you are already halfway there, really.
The main thing is to get used to the feeling of crossing the hair underneath instead of over. Your fingers might need a little time to adjust to this new movement. It is a bit like learning to tie your shoes a different way, too it's almost.
Watching someone do it, even in a video, can be very helpful. Then, try to copy the movements slowly. Do not worry about speed at first; focus on getting the motion right. You will find your rhythm over time, naturally.
Practice is truly key for this style. The more you try, the more your hands will remember what to do without you having to think about every single step. It is a skill that builds up with repetition, as a matter of fact. So, keep at it, and you will get there.
🖼️ Related Images
Quick AI Summary
This AI-generated article covers How To Braid Hair- A Simple Guide with comprehensive insights and detailed analysis. The content is designed to provide valuable information while maintaining readability and engagement.
Talia Berge
✍️ Article Author
👨💻 Talia Berge is a passionate writer and content creator who specializes in creating engaging and informative articles. With expertise in various topics, they bring valuable insights and practical knowledge to every piece of content.
📬 Follow Talia Berge
Stay updated with the latest articles and insights
